Blog
A random collection of thoughts on a variety of topics
“WebSocket programming with Dart 1.1”
2014-01-27
WebSockets are the new hotness when programming client side web applications. They eliminate the need for AJAX polling and other annoying workarounds that have been employed to make up for the fact that HTTP is a request-response protocol. WebSockets provide a full-duplex (two way) communications channel over a single TCP connection. They look and feel just like any other TCP socket, but are initiated over a standard HTTP upgrade request. This prevents any issues with firewalls and the like. If you can open a web page, you can use WebSockets (assuming your browser supports it).
In this installment, I will be covering Dart WebSockets stem to stern. I will show how to set up a WebSocket server. How to connect from both a CLI client and web browser, and wrap it up with a small demo called Dart Chat. The version of Dart I am using is Dart VM version: 1.1.1 (Wed Jan 15 04:11:49 2014) on “linux_x64”.
What are WebSockets?
As stated previously, WebSockets are a protocol that allows for a full-duplex connection to be made between a client side web application, and a web server. HTTP is a simple protocol. The client makes a request for some resource, and the server replies with that resource, or an error. If a user wants to receive “notifications” from a server they could either poll (make requests at some set interval) a resource URI, or for newer applications, can take advantage of server sent events. Don’t get me wrong, these methods have their place and do work for a majority of applications, but what do you do if you need two way real-time updating? This is where WebSockets find their niche. Server sent events are great for applications that use a publish-subscribe architecture (like twitter feeds). WebSockets are great for two way real time updates where the state of the application can change on both the client and server in a significant way. The most common place to find WebSockets is in multi player games.
A Look at an Upgrade Transaction
WebSocket connections are made through a WebSocket handshake request. The request is just a regular HTTP request with an upgrade flag in the header. Along with the upgrade the client request will carry a Sec-WebSocket-Key. This key is a base64 encoded random value. This value is used by the server to generate a Sec-WebSocket-Accept response. The string it sends back is the decoded key with the magic string 258EAFA5-E914-47DA-95CA-C5AB0DC85B11 appended to it. The resulting string is hashed with SHA-1 and re-encoded into base64. Below is the transaction between the WebSocket echo server, and a local client captured using Wireshark.
# Request from client to server
GET / HTTP/1.1
Request Method: GET
Request URI: /
Request Version: HTTP/1.1
Upgrade: websocket
Connection: Upgrade
Host: relativity:8080
Origin: null
Pragma: no-cache
Cache-Control: no-cache
Sec-WebSocket-Key: 2YeHa81dWUbaxoD6kxPsmg==
Sec-WebSocket-Version: 13
Sec-WebSocket-Extensions: x-webkit-deflate-frame
User-Agent: Mozilla/5.0 (X11; Linux x86_64) AppleWebKit/537.36
   (KHTML, like Gecko) Chrome/31.0.1650.39 (Dart) Safari/537.36

# response from server
HTTP/1.1 101 Switching Protocols
Request Version: HTTP/1.1
Status Code: 101
Response Phrase: Switching Protocols
server: DartEcho (1.0) by James Slocum
connection: Upgrade
upgrade: websocket
sec-websocket-accept: 6C4pHheu6O23Vk894/B30FrzYzo=
content-length: 0
WebSocket Server
Enough theory, lets get to some practice! In Dart, setting up a WebSocket server starts by setting up a regular web server. Since the WebSocket connection comes in as an HTTP upgrade request, we need to check the request header for the value of the upgrade flag. The WebSocketTransformer class provides a helper method to check this for you called isUpgradeRequest(HTTPRequest request). Once you know you have an upgrade, you can send the request to the WebSocketTransformer.upgrade(HttpRequest request) method to convert it into a WebSocket object.
import 'dart:io';
import 'dart:convert';

void main() {
  HttpServer.bind(InternetAddress.ANY_IP_V4, 8080).then((HttpServer server) {
    print("HttpServer listening...");
    server.serverHeader = "DartEcho (1.0) by James Slocum";
    server.listen((HttpRequest request) {
      if (WebSocketTransformer.isUpgradeRequest(request)){
        WebSocketTransformer.upgrade(request).then(handleWebSocket);
      }
      else {
        print("Regular ${request.method} request for: ${request.uri.path}");
        serveRequest(request);
      }
    });
  });
}

void handleWebSocket(WebSocket socket){
  print('Client connected!');
  socket.listen((String s) {
    print('Client sent: $s');
    socket.add('echo: $s');
  },
  onDone: () {
    print('Client disconnected');
  });
}

void serveRequest(HttpRequest request){
  request.response.statusCode = HttpStatus.FORBIDDEN;
  request.response.reasonPhrase = "WebSocket connections only";
  request.response.close();
}
In this code from sampleserver.dart we can see that a regular HTTP server is started in main(). The server listens for incoming requests and if it gets one, it looks to see if it is an upgrade. If this is the case it is passed to the WebSocketTransformer.upgrade() method. This method returns a Future<WebSocket> object that can we waited on. When it is ready we send it to the handleWebSocket(WebSocket socket) function to have the onData() and onDone() callbacks registered. When a message is sent as text, the onData() callback will receive a String, but when it is sent as binary (like an image file) it will receive a List<int>.
If the request is not a WebSocket request, then we simply reject it with a forbidden (403) return code. Of course you are welcome to expand on this part of the application and serve anything you want. I just felt it was simpler to isolate the WebSocket code for this example.
Browser WebSocket Client
The first WebSocket client that I am going to show is a browser client using the dart:html library. This will require the use of some HTML and CSS. To get started I will write up the HTML page called sampleclient.html that will hold the input TextInputElement and the output ParagraphElement. The HTML and CSS are pretty straight forward so you should not have too much of an issue following them.
<!DOCTYPE html>
<html>
   <head>
      <title>WebSocket Sample</title>
      <link rel="stylesheet" href="sampleclient.css"></link>
   </head>

   <body>
      <h1>WebSocket Sample</h1>
      <p id="output">
      </p>
      <input id="input" type="text"></input>

      <script type="application/dart" src="sampleclient.dart"></script>
      <script src="packages/browser/dart.js"></script>
   </body>
</html>
Next is the sampleclient.css style sheet to apply a very basic style to the page.
#input {
   width: 440px;
   font-size: 18px;
   border-style: solid;
   border-style: black;
   border-width: 1px;
}

#output {
   width: 440px;
   height: 300px;
   font-size: 16px;
   overflow-y: scroll;
}
Finally, let’s take a look at the Dart source in sampleclient.dart.
import 'dart:html';

void main() {
  TextInputElement input = querySelector('#input');
  ParagraphElement output = querySelector('#output');

  String server = 'ws://localhost:8080/';
  WebSocket ws = new WebSocket(server);
  ws.onOpen.listen((Event e) {
    outputMessage(output, 'Connected to server');
  });

  ws.onMessage.listen((MessageEvent e){
    outputMessage(output, e.data);
  });

  ws.onClose.listen((Event e) {
    outputMessage(output, 'Connection to server lost...');
  });

  input.onChange.listen((Event e){
    ws.send(input.value.trim());
    input.value = "";
  });
}

void outputMessage(Element e, String message){
  print(message);
  e.appendText(message);
  e.appendHtml('<br/>');

  //Make sure we 'autoscroll' the new messages
  e.scrollTop = e.scrollHeight;
}
To open a WebSocket connection to the server, I simply call the WebSocket constructor with the URI of the server. The dart:html WebSocket class provides several specific events that can be listened for. The onOpen event is called when the WebSocket connection has been established. The onMessage event is called every time data is available to read from the socket. The onClose Event is called when the server has shutdown, and the socket is no longer available. I hook each of these events up to the outputMessage() function that will output what the server has sent to a ParagraphElement object.
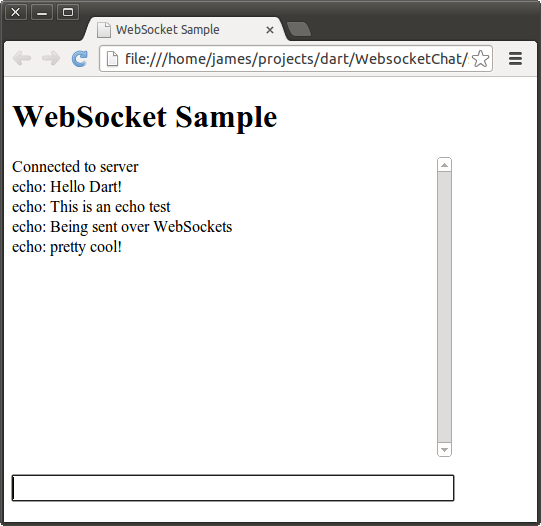
To test this application out, simple run the sampleserver.dart program, and then open sampleclient.html in dartium. Don’t forget to run pub install first to get the bootstrap if you are using my example code.
$ dart sampleserver.dart
HttpServer listening...
Client connected!
Client sent: Hello Dart!
Client sent: This is an echo test
Client sent: Being sent over WebSockets
Client sent: pretty cool!
Client disconnected
A Command Line WebSocket Client
WebSockets are not limited to the client side! It’s quite easy to open a WebSocket connection from a command line application using the dart:io WebSocket class. The WebSocket in dart:io works a bit differently then the one in dart:html. Let’s take a look at the command line client code, and then I will go over some differences.
import 'dart:io';

WebSocket ws;

void main(List<String> args){
  if (args.length < 1){
    print('Please specify a server URI. ex ws://example.org');
    exit(1);
  }

  String server = args[0];

  //Open the websocket and attach the callbacks
  WebSocket.connect(server).then((WebSocket socket) {
    ws = socket;
    ws.listen(onMessage, onDone: connectionClosed);
  });

  //Attach to stdin to read from the keyboard
  stdin.listen(onInput);
}

void onMessage(String message){
  print(message);
}

void connectionClosed() {
  print('Connection to server closed');
}

void onInput(List<int> input){
  String message = new String.fromCharCodes(input).trim();

  //Exit gracefully if the user types 'quit'
  if (message == 'quit'){
    ws.close();
    exit(0);
  }

  ws.add(message);
}
The first major difference that should pop out at you is that the dart:io WebSocket is created and connected using the WebSocket.connect() method that returns a Future<WebSocket>. The dart:html WebSocket is created using its constructor. The HTML version of the WebSocket also exposes several separate event hooks for receiving messages, knowing when a connection is made, and knowing when a connection is closed. The io version provides the “classic” listen(void onData(T event), {Function onError, void onDone(), bool cancelOnError}) interface for registering callbacks. The HTML version also has a send() method to transmit data, while the io version has add(). There is currently an open ticket for unifying these WebSocket interfaces.
$ dart sampleserver.dart
HttpServer listening...
Client connected!
Client sent: Hello from the command line
Client sent: Now I can create one type of socket, and use it for applications and webapps
Client sent: hurray!
Client disconnected

$ dart samplecliclient.dart ws://localhost:8080
Hello from the command line
echo: Hello from the command line
Now I can create one type of socket, and use it for applications and webapps
echo: Now I can create one type of socket, and use it for applications and webapps
hurray!
echo: hurray!
quit
Project Files and Further Reading
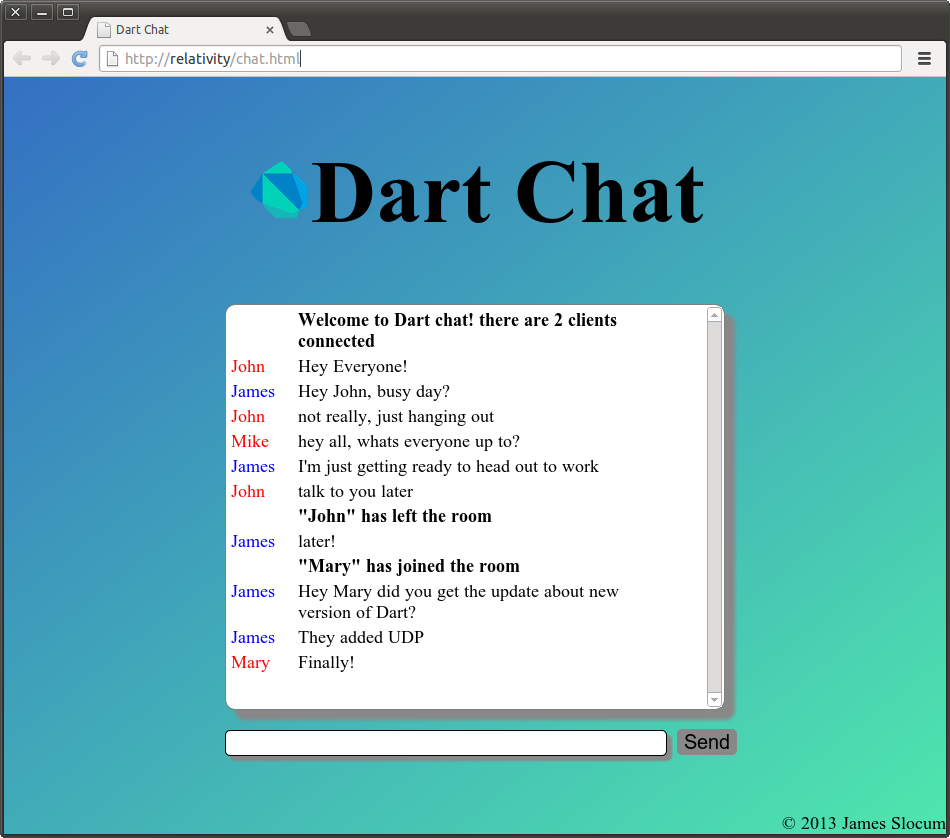
The full source for these sample files can be found here. Also included is a WebSocket based chat application called DartChat. To run the applications un-tar the archive and run the command pub install. This will install all of the application dependencies, and the bootstrap script. From there feel free to use the sampleserver.dart to run the simple echo server, or run server.dart to run the full chat server. To run the chat client, open chat.html in dartium. If you have any questions about the functionality of the chat system feel free to leave a comment below!
$ tar -zxvf dart_websockets.tar.gz
$ pub install
$ dart server.dart &
$ dartium chat.html
In the next installment, I will be covering the freshly released RawDatagramSocket class that will handle UDP communications in Dart.
comments powered by Disqus